How to Install WordPress on a Website
Assumptions:
Before we start, I am going to make the following assumptions:
- You have a web host provider.
- You have a domain name.
Topics on this Page:
- What do I Need to Install WordPress on a ‘Live’ Web Server?
- Installing WordPress on a Live Website (or Server):
- Video on Installing WordPress on a ‘Live’ Website:
What do I Need to Install WordPress on a ‘Live’ Web Server?
As mentioned in the previous article ‘Installing WordPress (An Overview)‘, to install WordPress as a ‘live’ website, you will need the following components:
- A Hosting Provider (mostly paid).
- A Domain Name (paid).
- A Copy of WordPress ( free).
- A Theme (free or paid).
The Web Host Provider:
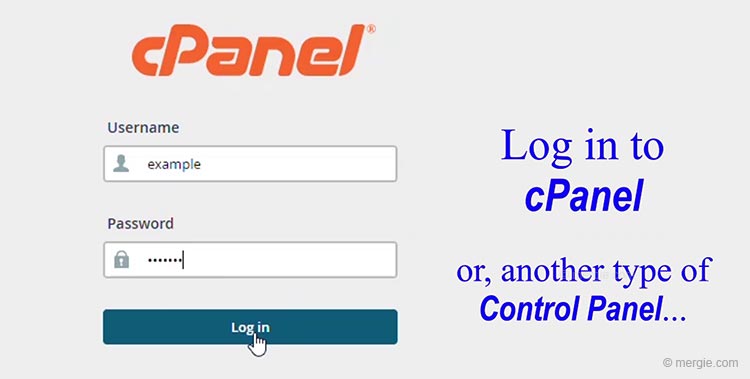
The hosting provider will often provide software that installs WordPress for you. This is normally through a control panel like cPanel, or Plesk.
The control panel will allow you to configure your server and website. For this installation, I used the ‘cPanel’ control panel.
The Domain Name:
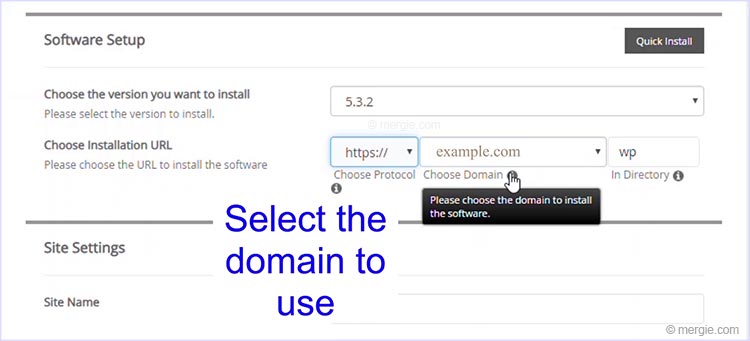
If you purchased a domain name through your web host supplier, it’s normally a straightforward task linking the domain to your website, (The web host’s WordPress installation process will normally ask for the domain, or provide a dropdown list for you to select the domain).
If your domain is parked with another hosting company, you will have to point the ‘name servers’ at the domain.
A Copy of WordPress:
Your web hosting package will come with a control panel, (cPanel, Plesk, etc). The easiest way to install WordPress (on a ‘live’ web server) is through the control panel using an app…
Therefore (in most cases on a ‘live’ web server), WordPress doesn’t need to be downloaded.
If you need to download WordPress, follow this link WordPress.
Note:
WordPress downloads should be through the .org website, (wordpress.com is a commercial paid, or limited free version).
A Theme:
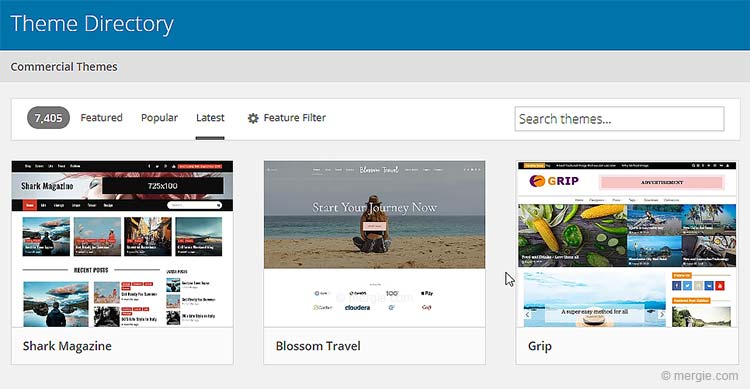
During Installation, WordPress will install with a free default theme. This will be a good usable starter theme.
However, there are thousands of WordPress themes available, some free, some paid for. I would start with the free default theme and play around with WordPress, just to get an idea on what you want, and then progress from there…
Installing WordPress on a Live Website (or Server):
- Using a control panel App to install WordPress:
- Open the App to Begin Installing WordPress:
- Install WordPress on the ‘Live’ Web Server:
- Install a WordPress Theme:
- Video on Installing WordPress on a ‘Live’ Website:
Using a control panel App to install WordPress:
- Open your control panel, in this case cPanel… (or another type of control panel).
- Find the control panel ‘App Installer’ (in this case softaculous).
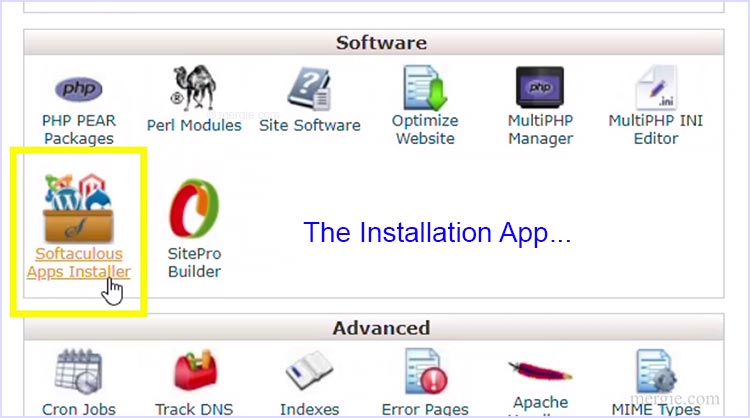
- Open the App and find the WordPress installer…
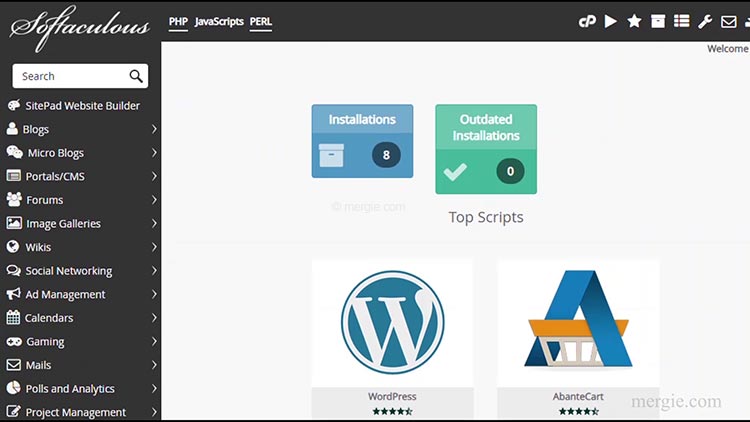
Open the App to Begin Installing WordPress:
- Find the WordPress Install App and click ‘Install’.
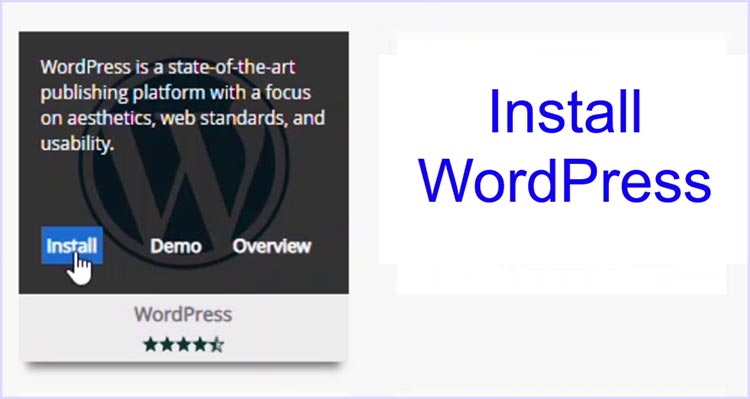
- The WordPress installation page will open.
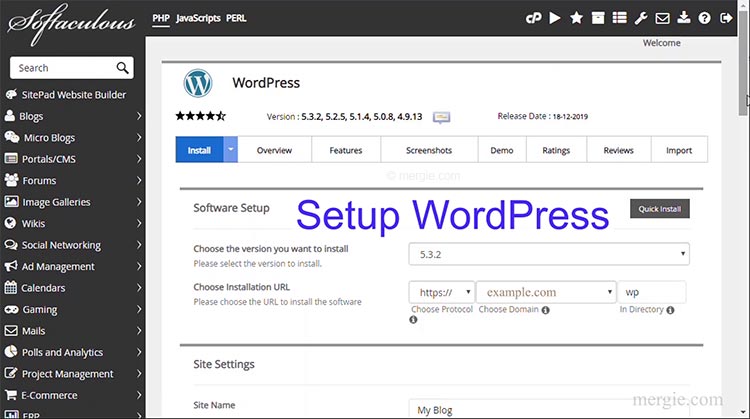
- Start to setup WordPress by updating, populating the various installation parameters, such as the domain settings.
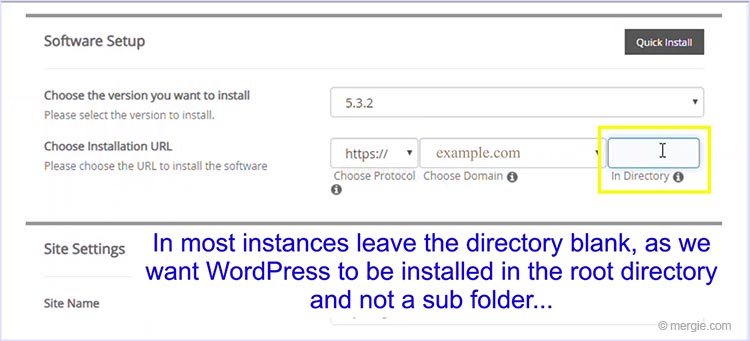
- You would normally install WordPress in the root folder (usually called htdocs or public_html, etc). If this is the case, you need to leave this field blank.
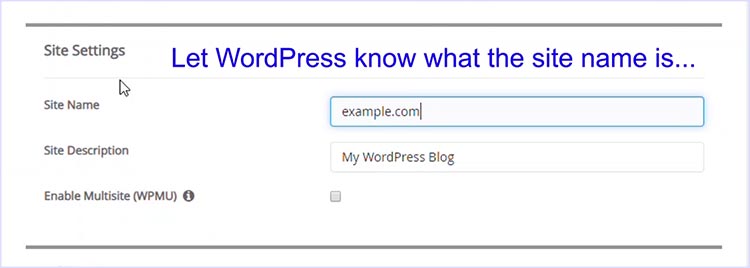
- Let WordPress know what the site name and description is?
Important (Best Practice):
If you ever plan to use a ‘testing’ server, it is a good idea to setup your ‘live’ server database and your future ‘testing’ Server database so they are identical. I.e. The following parameters should be the same in both locations:
- Username.
- Password.
- Hostname.
- Database name.
- Table prefix.
This is so your ‘Live Site’ and ‘Testing’ Server mirror each other. This will make life far easier if you upload your website to a ‘testing’ server, (or when backing up and updating).
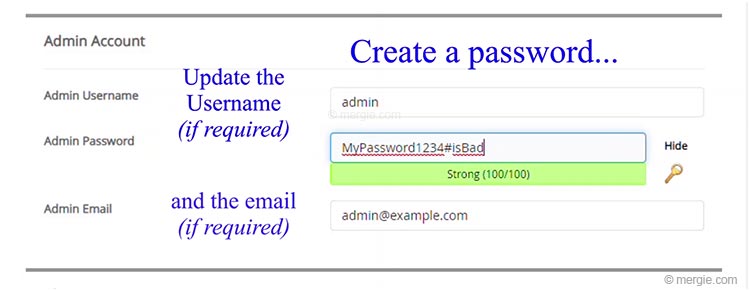
- Create a password…
- Update the Username (if required)?
- and the email (if required)?
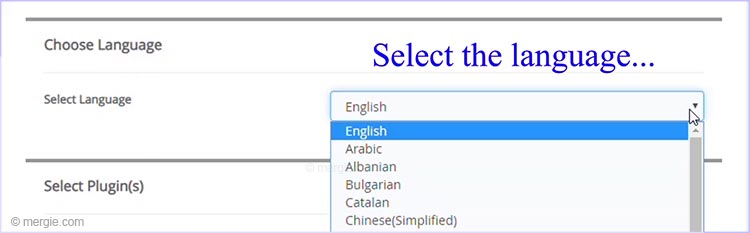
- Select the language…
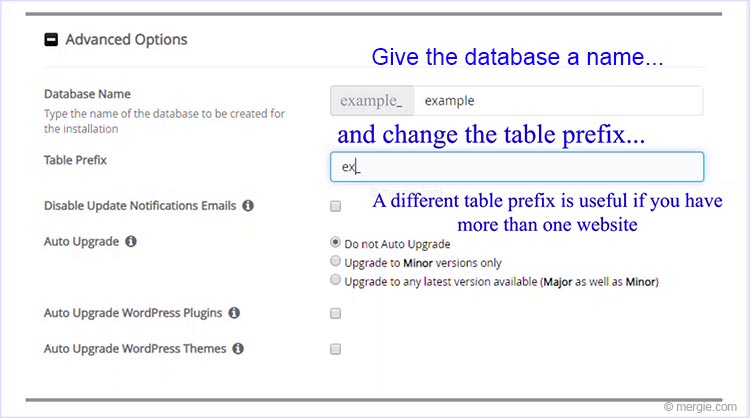
- Expand the ‘Advanced Options’.
- Give the database a name…
- and change the table prefix, (a different table prefix is useful if you have more than one website).
Note:
If you are going to import an existing website, it helps if the database name and table prefix match that of the imported website…
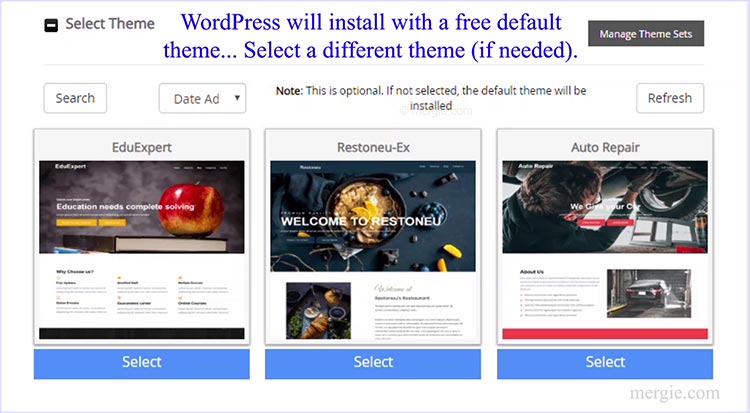
Install a WordPress Theme:
- During Installation, WordPress will install with a free default theme.
- Select a different theme (if needed)…
Install WordPress on the ‘Live’ Web Server:
- Enter an email address to get an install confirmation.
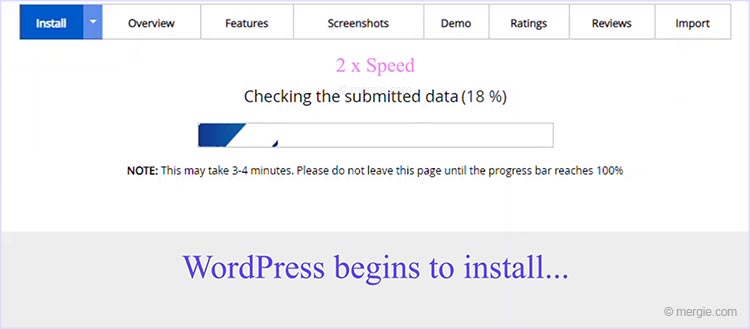
- And then click ‘Install’…

- WordPress begins to install…
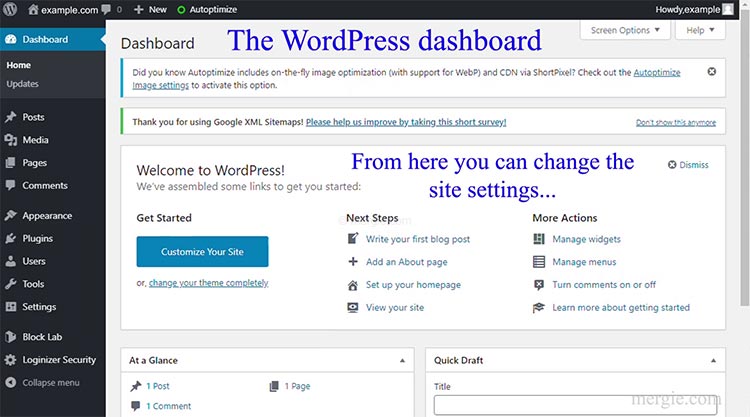
- Click on example.com/wp-admin to see the dashboard…
- Click on example.com to see the website…
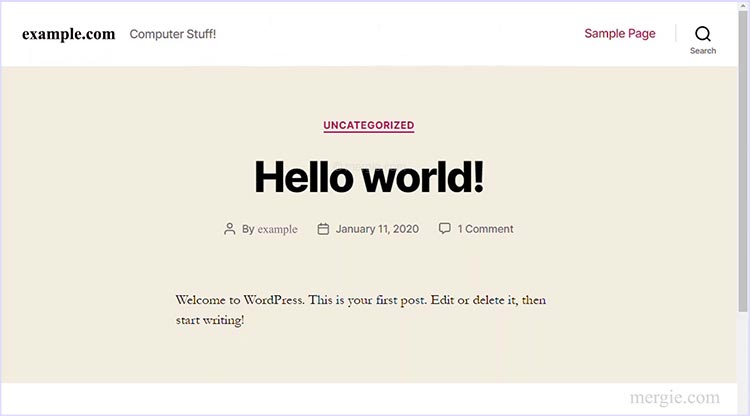
The installation is complete. You can now publish to the world..!
Video on Installing WordPress on a ‘Live’ Website:

Install WordPress (An Overview)
